
Ceramic Coating for Headlights
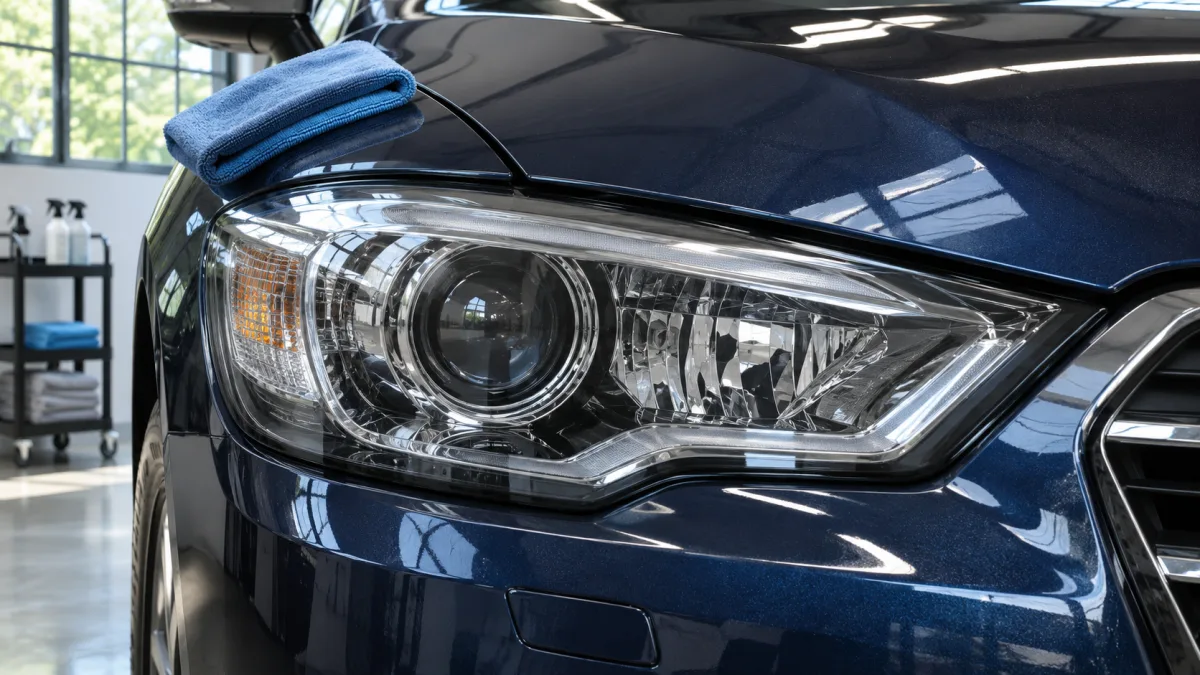
Ceramic coating for headlights makes sense when the lens is already clear and the coating is designed for headlight lenses. If the plastic is yellow or hazy on the outside, restore the surface first and use the protective finish specified by the restoration system. A coat of sealant over an oxidized lens skips the step that removes the damage.
Check where the haze is
Wash and dry the outside of the lens, then look at it from an angle in daylight. If it looks clear after cleaning, you can leave the factory finish alone or use a compatible headlight protectant without sanding. If a yellow or cloudy layer remains on the outside, consider a restoration kit made for that lens material. Choose the kit before you start sanding so you know what surface the final coat needs.
Check the inside too. For example, the Ford Bronco Sport owner's manual distinguishes light condensation that clears from pooling water or streaks inside the lens that call for service. Exterior polishing and coating can't reach moisture inside the housing. If the lamp is cracked or the beam still looks weak after cleaning, have the assembly checked before paying for cosmetic work.
Compare the prep and drying instructions
A standalone product such as CARPRO CQUARTZ DLight is sold to protect headlight lenses and other plastics. It doesn't come with a sequence for removing oxidation. If you need to restore a lens, compare the prep and finish as a system.
| Product | What it is for | What to plan for |
|---|---|---|
| CERAKOTE Ceramic Headlight Restoration Kit | Exterior oxidation removal, followed by 2,000- and 3,000-grit wet sanding. The instructions call for an evenly frosted lens before the clear wipe. | Dry the lens and surrounding area first. After coating, wait at least 60 minutes before driving or exposing the lens to moisture. |
| SYLVANIA Headlight Restoration Kit | Exterior restoration using 400-, 1,000- and 2,000-grit paper and a clarifying compound before the UV Block Clear Coat. | Wait at least an hour before touching the lens. Allow four to six hours to cure before driving or exposing it to water. |
The one-hour marks in the kit guides mean different things. An hour after application, CERAKOTE's minimum wait before driving has elapsed. For SYLVANIA, that hour is the minimum before touching the lens; the car still needs to stay parked and dry. If you need to leave two hours after the last wipe, the CERAKOTE directions fit that window and the SYLVANIA directions don't. Count from the last lens you coat, and include time for the prep when planning the job.
Keep the kit's own finish unless its maker gives you an approved substitute. The frosted appearance CERAKOTE calls for after sanding is part of its process. It isn't a cue to polish the lens to a gloss or to swap in a coating formulated for windshield glass or textured plastic trim.
What to ask a detailer before booking
Ask the shop to list restoration and protection separately on the quote. A line that says “headlights coated” might cover a clean and protect service for clear lenses. On a cloudy lens, ask which damage they expect to remove and what they will use to protect the prepared surface afterward.
- Which product goes on the lens, and is it intended for that headlight material?
- Will you sand or polish the lens, or leave its existing finish intact?
- When can I drive the car, park it outside in rain, and wash it again?
If the shop is coating the paint at the same appointment, get pickup and wash instructions for both jobs. The paint coating's cure schedule and the headlight finish can have different limits. Bring a photo of each lens when you compare local shops, especially if one is much cloudier than the other.
Stay Updated with Ceramic Coating News
Get the latest updates on ceramic coating technology, tips, and exclusive offers delivered to your inbox.